

Step by step aircon replacement: UK homeowner guide
TL;DR:
- Replacing your air conditioning unit involves careful preparation, correct sizing, and professional refrigerant handling to prevent costly mistakes. A systematic removal and installation process, combined with thorough post-installation maintenance, ensures optimal system performance and longevity. Proper planning and expert support are essential for a safe, efficient, and effective aircon upgrade.
Replacing your air conditioning unit is one of those jobs that feels far more complicated than it needs to be — until you break it down properly. A step by step aircon replacement approach changes the whole experience. Instead of a daunting overhaul, you get a clear sequence of tasks you can actually follow. Whether your current system is undersized, ageing, or simply beyond repair, this guide walks you through everything: preparation, safe removal, correct installation, and post-replacement checks. The goal is to give you the knowledge to do this confidently and safely, with no gaps left to chance.
Table of Contents
- Key takeaways
- Step by step aircon replacement: what to do first
- Removing the old unit safely
- Installing the new unit: detailed steps
- Troubleshooting and ongoing maintenance
- What to expect after a successful replacement
- My honest take on DIY aircon replacement
- Professional support when you need it
- FAQ
Key takeaways
| Point | Details |
|---|---|
| Sizing matters most | Always use a Manual J load calculation to select the right capacity unit for your home. |
| Refrigerant requires a professional | Handling refrigerant is legally restricted; always hire a licenced technician for this part. |
| Preparation prevents problems | Check ductwork, electrics, and drain lines before the new unit arrives to avoid costly fixes later. |
| Test everything before finishing | Verify airflow, temperatures, and thermostat function before considering the job complete. |
| Maintenance starts immediately | Replace filters and clear drain channels from day one to protect your new system’s efficiency. |
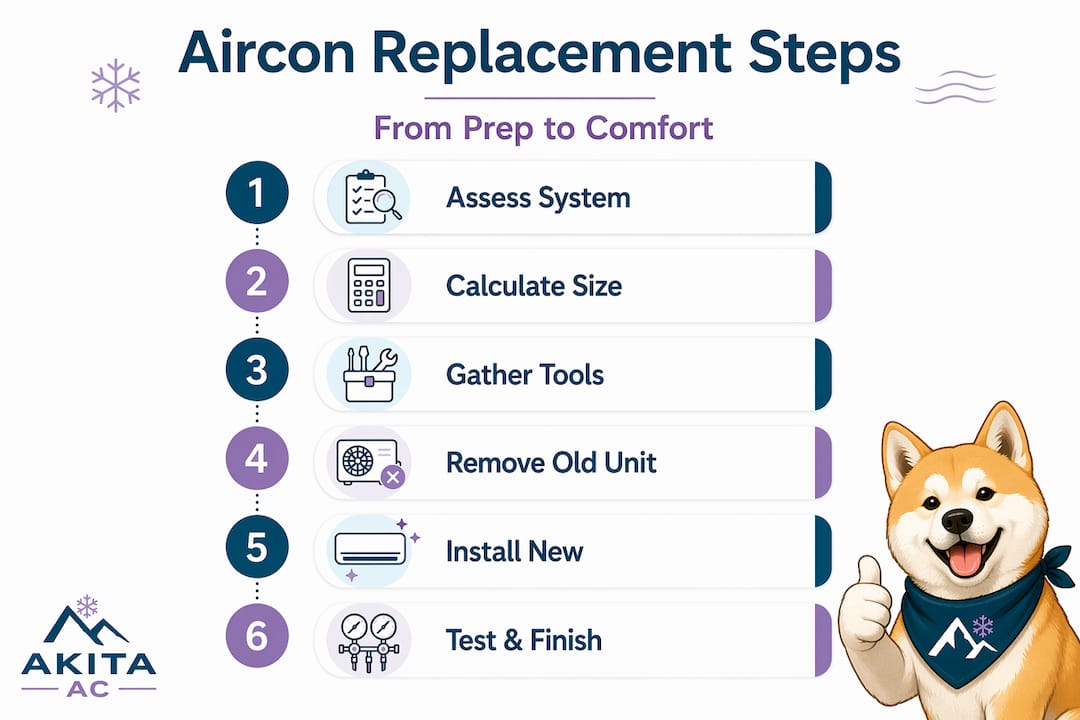
Step by step aircon replacement: what to do first
Before you touch a single pipe or wire, preparation decides whether your replacement goes smoothly or turns into a costly mess. The most common mistake DIY installers make is skipping this phase entirely, assuming the new unit will simply slot in where the old one sat.
Assess your current system honestly
Start by asking why you are replacing the unit. Is it inefficiency, age, frequent breakdowns, or simply the wrong size? This matters because mixing equipment generations or brands can reduce efficiency and void warranties. If you are upgrading, make sure the new system is fully compatible with your existing electrical supply and any ducting you plan to reuse.
Check your ductwork condition, electrical panel capacity, and refrigerant type before the new unit arrives. Evaluating ductwork, electrics, and refrigerant requirements ahead of time prevents expensive post-installation fixes that could have been avoided with a twenty-minute inspection.
Sizing: do not guess
Correct sizing is non-negotiable. A Manual J load calculation takes into account your home’s insulation, window area, orientation, and occupancy levels. Getting this wrong leads to short-cycling, poor humidity control, and a unit that runs constantly without ever reaching the target temperature. Online sizing charts are a starting point, not a replacement for a proper calculation.
Tools and materials
Gather everything before you begin. Running to a supplier mid-job leaves the system open and exposed.
| Tool or material | Purpose |
|---|---|
| Torque wrench and spanners | Tightening refrigerant line fittings accurately |
| Vacuum pump | Evacuating moisture from the refrigerant lines |
| Manifold gauge set | Checking system pressure and refrigerant levels |
| Pipe cutter | Clean cuts on copper refrigerant lines |
| Electrical multimeter | Verifying voltage and continuity at connections |
| Mounting brackets and fixings | Securing indoor and outdoor units |
| Pipe insulation | Protecting refrigerant lines from heat gain |
Pro Tip: Read the installation manual for your specific unit before ordering tools. Some manufacturers require proprietary torque settings or specific pipe diameters that differ from standard equipment.
Safety is not optional. Isolate power at the consumer unit and label the circuit clearly so nobody accidentally restores it while you are working. Clear the workspace around both indoor and outdoor units before starting.
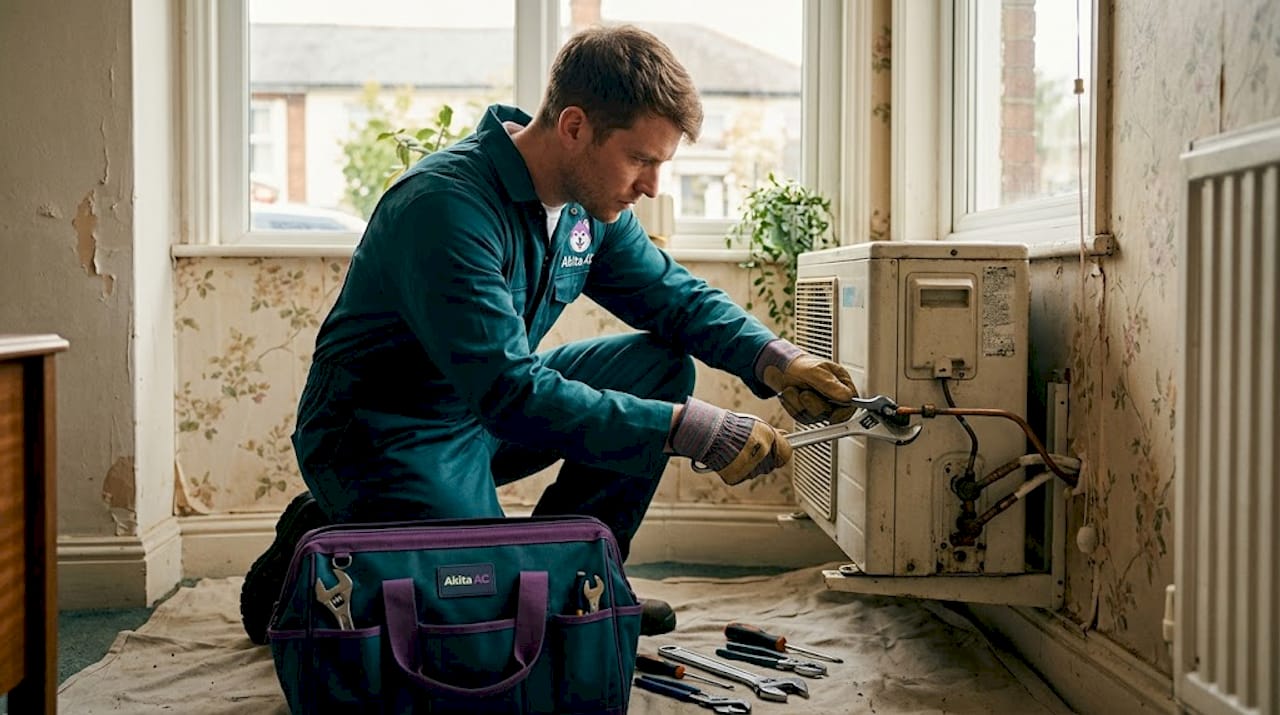
Removing the old unit safely
Removal done carelessly causes damage to the property, injury risk, and complications for the new installation. Work through this in a fixed sequence.
- Shut down the system completely. Switch the unit off via its own controls first, then isolate the dedicated circuit at the consumer unit. Do not rely on the remote control alone.
- Call a licenced refrigerant engineer. Refrigerant handling is legally restricted in the UK. DIYers must not attempt refrigerant recovery; this step requires a certified F-Gas technician who will recover the refrigerant safely and document it correctly.
- Disconnect the electrical supply. Once the power is confirmed off with a multimeter, remove the wiring from the indoor unit’s terminal block. Photograph the connections before removing them.
- Disconnect the refrigerant lines. With refrigerant already recovered, carefully undo the flare fittings on both the indoor and outdoor units. Cap the line ends immediately to prevent moisture and debris entering the pipework.
- Remove the indoor air handler. Unscrew the mounting brackets, support the unit from below, and lift it clear. These units are heavier than they look. Two people make this safer.
- Disconnect and remove the outdoor condenser. Undo any vibration dampers, disconnect the electrical connections, and lift the unit free. Keep it upright during removal to avoid compressor oil migration.
Pro Tip: Take photos at every stage of the removal process. If you encounter a wiring configuration you have not seen before during installation, your photos will save you significant time.
Common removal pitfalls include forcing flare fittings, which damages the copper seat and causes refrigerant leaks, and pulling cables instead of disconnecting them properly at terminals.
Installing the new unit: detailed steps
With the old system removed and the space prepared, you can begin the installation. Work methodically.
- Position the outdoor condenser. Mount it on a solid, level base, whether that is a concrete pad, anti-vibration feet, or a wall bracket. Trim foliage two feet from the unit to maintain airflow around the condenser. Check the manufacturer’s clearance requirements on all sides.
- Mount the indoor air handler. Fix the back plate to the wall using a spirit level. The unit must be genuinely level for the condensate drain to function correctly. Position it according to the installation manual’s guidance on minimum distances from ceilings and walls.
- Run the refrigerant lines and cabling. Feed copper refrigerant pipework and the inter-unit cable through the wall sleeve. Insulate the refrigerant lines as you go, not as an afterthought. Uninsulated sections cause condensation and significant heat gain.
- Connect the flare fittings. Use a proper flare tool to form the connections, tighten to the manufacturer’s specified torque, and double-check each fitting. A loose flare is the number one cause of slow refrigerant leaks.
- Connect the electrical wiring. Match each wire to the terminal block as shown in the installation diagram. Tighten all terminals firmly. A loose connection causes arcing, which will damage the control board.
- Perform a vacuum test. Connect a vacuum pump via the manifold gauge set and draw the system down to below 500 microns. Hold the vacuum for at least fifteen minutes. If it rises, you have a leak that must be found and fixed before proceeding.
- Charge the system with refrigerant. This step must be carried out by your F-Gas engineer. Proper refrigerant levels are critical; both overcharging and undercharging reduce efficiency and damage the compressor.
- Programme the thermostat. Set the correct date, time, and any scheduling features. Run the system in both cooling and heating modes if applicable.
Key checks before declaring the installation complete:
- Confirm airflow from the indoor unit feels strong and even across all vents
- Verify the outdoor condenser fan is spinning freely and in the correct direction
- Check the condensate drain is flowing correctly, not backing up
- Confirm no unusual noises from either unit during operation
- Test all components post-installation before finalising the setup to prevent callbacks and performance issues
Troubleshooting and ongoing maintenance
Even a correctly installed system needs attention from day one. Skipping early maintenance is where many homeowners lose the performance gains they paid for.
- Filters: Check and replace filters monthly during peak use. Clogged filters restrict airflow, force the compressor to work harder, and significantly shorten system life.
- Condensate drain: Clear the drain channel every few months. A blocked drain does not just cause water damage; it can trigger the system’s safety float switch and shut the unit down entirely.
- Coil fins: Inspect and straighten coil fins on the outdoor unit at least once a year. Bent fins block heat transfer and raise running costs noticeably.
- Outdoor unit clearance: Keep the area around the condenser clear of leaves, grass clippings, and debris. A blocked condenser is one of the most common causes of system trips in summer.
Replacing filters and clearing drain channels around the time of replacement sets the standard for how the system will be maintained going forward. Systems that are well maintained from the start consistently outperform those where maintenance is retrofitted later.
Signs of a problematic installation include unusual refrigerant smells, the system short-cycling (turning on and off in very short bursts), or the indoor unit producing water that drips from the casing rather than draining away. If you notice any of these, stop using the system and consult a professional. For a thorough ongoing plan, the AC maintenance checklist for UK homes is a practical resource worth bookmarking.
What to expect after a successful replacement
Get the replacement right and the improvements are tangible. Upgrading to a high SEER2-rated unit delivers better energy efficiency and noticeably improved humidity control compared to older systems. Running costs drop, particularly if you are replacing a unit that is more than ten years old.
Beyond energy bills, indoor air quality improves because modern systems filter more effectively and manage humidity better. Correctly sized units also run fewer, longer cycles rather than constantly starting and stopping, which is quieter and far less wearing on the compressor. A well-planned replacement paired with ongoing maintenance produces the best long-term results and the lowest lifetime cost.
My honest take on DIY aircon replacement
In my experience at Akita, the homeowners who get this right are the ones who treat preparation as the actual job. The physical installation is almost straightforward once everything upstream is sorted: the correct unit is ordered, the electrics are confirmed compatible, and a licenced F-Gas engineer is booked for refrigerant recovery and recharging.
What I see go wrong most often is people underestimating the refrigerant and sizing elements. Both look approachable until they are not. An incorrectly charged system can run for months before the damage shows up, by which point the compressor is compromised and the warranty is void. The same applies to sizing. A unit that is half a kilowatt too small will run constantly and never satisfy. You will spend the same money replacing it properly a year later, only more frustrated.
My honest advice: do as much of this yourself as you are genuinely competent to do. The mounting, wiring, pipework, and vacuum testing are all achievable for a capable DIYer with the right tools and patience. Hand the refrigerant work to a professional without hesitation. For guidance on getting the preparation phase right, the AC installation preparation guide is a useful companion to this article.
— Akita
Professional support when you need it

If any stage of this guide raises questions or you would rather have a professional handle the technically restricted elements, Akita’s team covers domestic air conditioning installation across Suffolk, Essex, and Norfolk. Whether you need a complete replacement handled from start to finish or support with the refrigerant and commissioning stages specifically, Akita offers fixed-price installations with transparent quotes and no hidden costs. You can also explore a fixed-price 2.5kW installation if you are replacing a standard residential unit. Get in touch to discuss your project without any obligation.
FAQ
How long does a home aircon replacement take?
A professional installation typically takes one to two days from removal to commissioning. DIY replacements often take longer on the first attempt, particularly if ductwork or electrical upgrades are needed.
Can I replace my aircon unit myself in the UK?
Most of the physical work is legal for a competent DIYer, but handling refrigerant requires an F-Gas certified technician by law. Attempting refrigerant recovery or recharging without a licence is illegal and carries significant penalties.
What size aircon unit do I need to replace my old one?
Do not assume the replacement should be the same capacity as the unit you are removing. Use a Manual J load calculation or consult a professional to confirm the correct size for your specific home.
How do I know if my new aircon is installed correctly?
The system should reach the set temperature within a reasonable time, produce no unusual sounds or smells, and have a functioning condensate drain. A vacuum test before charging is the clearest indicator of a leak-free installation.
How often should I replace aircon filters after installation?
Check filters monthly during periods of regular use and replace them every one to two months. Dirty filters are the single most common cause of reduced efficiency in otherwise well-installed systems.