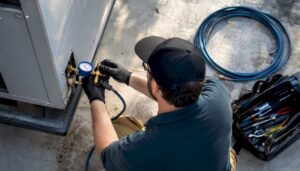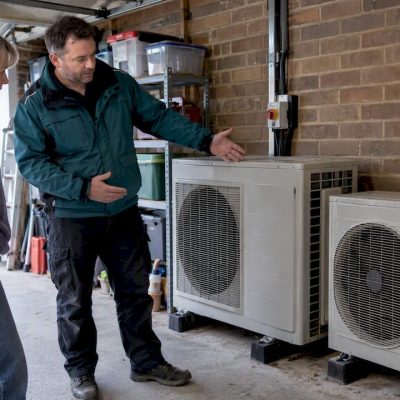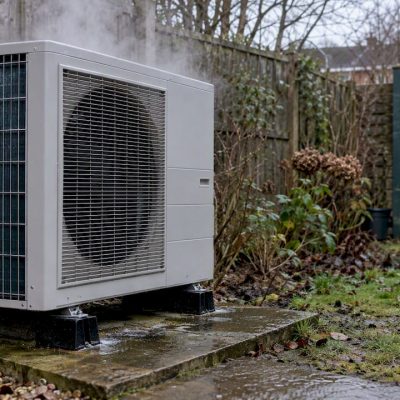
You can safely clean your air conditioning unit’s filters, wipe down the casing and grille, check the drain tray, and clear debris from the outdoor condenser yourself. Anything beyond that — coil deep cleans, refrigerant work, electrical components, or the fan motor — must go to a qualified engineer. That boundary is not overcaution; it is the difference between routine upkeep and voiding your warranty or creating a safety hazard.
Before touching any part of the unit, switch it off at the remote, then isolate it at the wall isolator switch or fuseboard.
Safe DIY tasks vs tasks for a professional
DIY: filters, casing, grille, louvres, accessible drain tray, outdoor debris clearance.
Leave to a qualified engineer: evaporator and condenser coils, refrigerant lines and checks, fan motor, electrical connections, sealed internal components.
Safe DIY tasks at a glance:
- Switch off power and isolate at the wall before starting
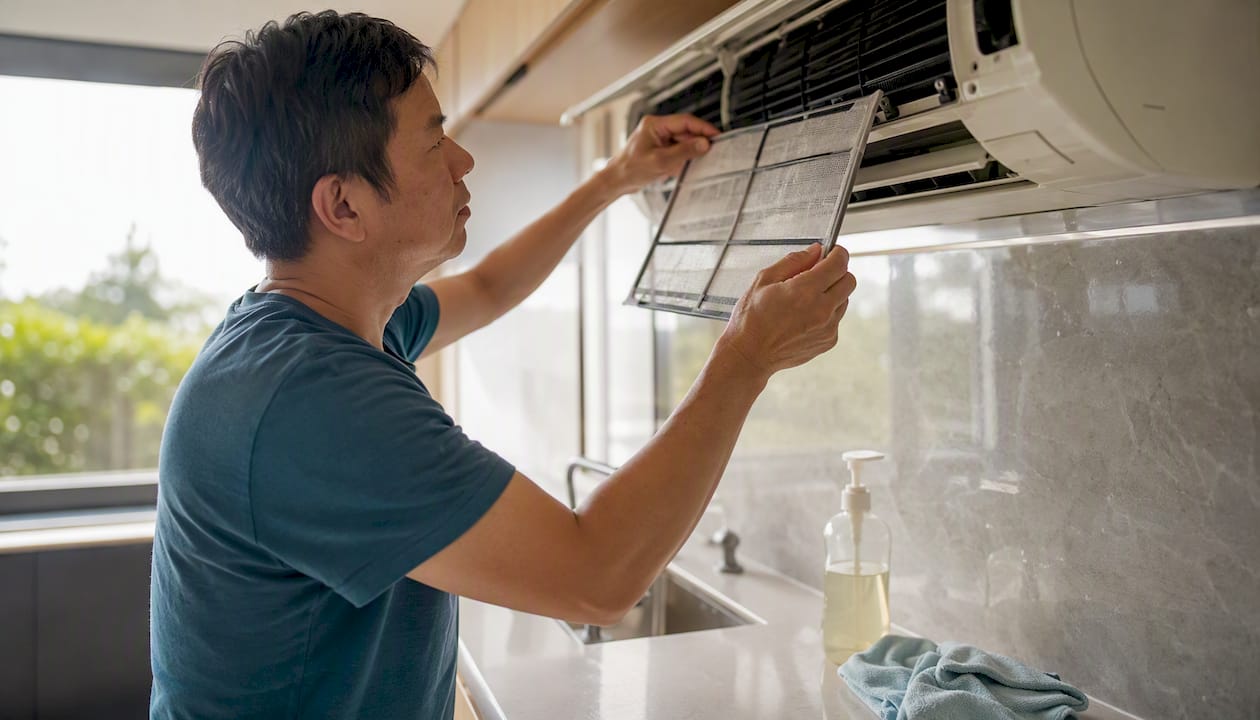
- Remove, clean and dry washable filters
- Wipe the casing, grille and louvres with a damp cloth
- Check and clear the visible drain tray
- Remove leaves and debris from around the outdoor unit
- Keep vegetation at least 30–60 cm clear of the outdoor condenser
Do not attempt:
- Opening the sealed condenser casing
- Cleaning evaporator or condenser coils yourself
- Any work involving refrigerant lines or electrical components
Key takeaways
Routine DIY aircon cleaning — filters, casing, grille, drain tray, and outdoor debris — takes under an hour and prevents the majority of avoidable performance problems; coils, refrigerant, and electrical work always require a certified engineer.
| Point | Details |
|---|---|
| Always isolate power first | Switch off at the remote and the wall isolator before touching any part of the unit. |
| Clean filters every 2 weeks in heavy use | Dirty filters are the leading cause of reduced airflow and higher energy bills. |
| Dry filters completely before refitting | Damp filters reinstalled in a running unit encourage mould growth inside the casing. |
| Clear outdoor debris monthly | Keep vegetation 30–60 cm clear and never use a pressure washer on the fins. |
| Call a pro for coils, refrigerant and electrical faults | Ice on coils, persistent smells, or water leaks are signs that DIY has reached its limit. |
| Akita covers the full service | Akita’s residential visits include coil cleaning, drain clearing, and refrigerant checks across Suffolk and north Essex. |
Table of Contents
- What tools and materials do you need for DIY aircon cleaning?
- Step-by-step DIY aircon cleaning: how to clean your filters
- How to clean the indoor casing, louvres and drain tray
- Safe DIY tasks for the outdoor condenser unit
- Which cleaning solutions are safe for DIY aircon maintenance?
- How often should you clean your aircon, and how long does each task take?
- Common DIY mistakes to avoid and simple troubleshooting steps
- When should you call a qualified UK engineer?
- Akita’s practical perspective on DIY cleaning and what we see on service visits
- How Akita can help with a professional aircon service
- Sources
What tools and materials do you need for DIY aircon cleaning?
Most of what you need is already in the house. Here is the full kit:
- Soft microfibre cloths (two or three)
- Vacuum cleaner with a soft brush nozzle
- Soft-bristled brush (a clean paintbrush works well)
- Bucket of lukewarm water
- Mild washing-up liquid or a pH-neutral detergent
- Rubber gloves and safety glasses
- Old towels to protect the floor
- Stepladder if the indoor unit is wall-mounted high up
A few optional items are worth knowing about. Foaming coil cleaner sprays, sold in UK hardware shops and online, are designed for accessible coil surfaces and dissolve grease without scrubbing. Condensate line cleaner tablets drop into the drain tray and slow mould growth between services. Purpose-made filter cleaner sprays can shift stubborn dust on thicker filters. None of these are necessary for a basic clean, but they are useful if your unit has been neglected for a season.
Pro Tip: Before you climb a stepladder to reach a high-mounted unit, make sure it is on a firm, level surface and that someone else is in the house. Never lean sideways off a ladder to reach a panel — reposition the ladder instead. And always isolate the unit at the fuseboard, not just at the remote, before you start.
Step-by-step DIY aircon cleaning: how to clean your filters
Filters are the single most important DIY maintenance item on any split system. Daikin’s maintenance guidance puts it plainly: dirty filters restrict airflow, force the unit to work harder, and push up energy bills. A basic filter clean typically takes 10–20 minutes per indoor unit.
- Isolate the power. Switch off at the remote, then turn off the isolator switch on the wall near the unit or trip the relevant circuit at the fuseboard. Do not skip this step.
- Open the front panel. Lift or unclip the front cover following your unit’s manual. Most panels hinge upward; some have side clips. Take a quick photo before you start so you know exactly how it goes back.
- Remove the filters. Slide or lift them out carefully. They are usually mesh panels sitting just behind the front grille. If you have multiple indoor units, label each filter with a sticky note so you do not mix them up.
- Vacuum loose dust. Use the soft brush nozzle on your vacuum to remove the bulk of the dust before washing. This stops the sink from clogging and makes rinsing far quicker.
- Wash under lukewarm water. Heatable’s filter maintenance guide confirms that most washable mesh filters can be rinsed under lukewarm running water. Add a small amount of mild detergent if the filter is greasy, and rinse from the clean side through to the dirty side to push debris out the way it came in. Never use hot water — it can warp the mesh.
- Rinse thoroughly. Make sure no soap residue remains, as detergent left in the filter can attract dust faster once the unit is running again.
- Shake off excess water and air-dry in the shade. Lay the filters flat on a towel away from direct sunlight. Direct heat can distort the frame.
- Refit only when completely dry. A damp filter reinstalled in a running unit can encourage mould growth inside the casing. If you are in a hurry, pat dry with a clean cloth and leave for another 30 minutes before fitting.
- Close the panel and restore power. Clip the front cover back, switch the isolator back on, and run the unit briefly to confirm normal airflow.
How often? During heavy summer use, every two weeks is the standard recommendation. In lighter use, a 4–6 week cycle is typical. If you have pets, allergies, or a dusty environment, lean toward the shorter interval.
Pro Tip: Photograph the panel clips and filter orientation before you remove anything. It takes five seconds and saves ten minutes of puzzling over reassembly.
How to clean the indoor casing, louvres and drain tray
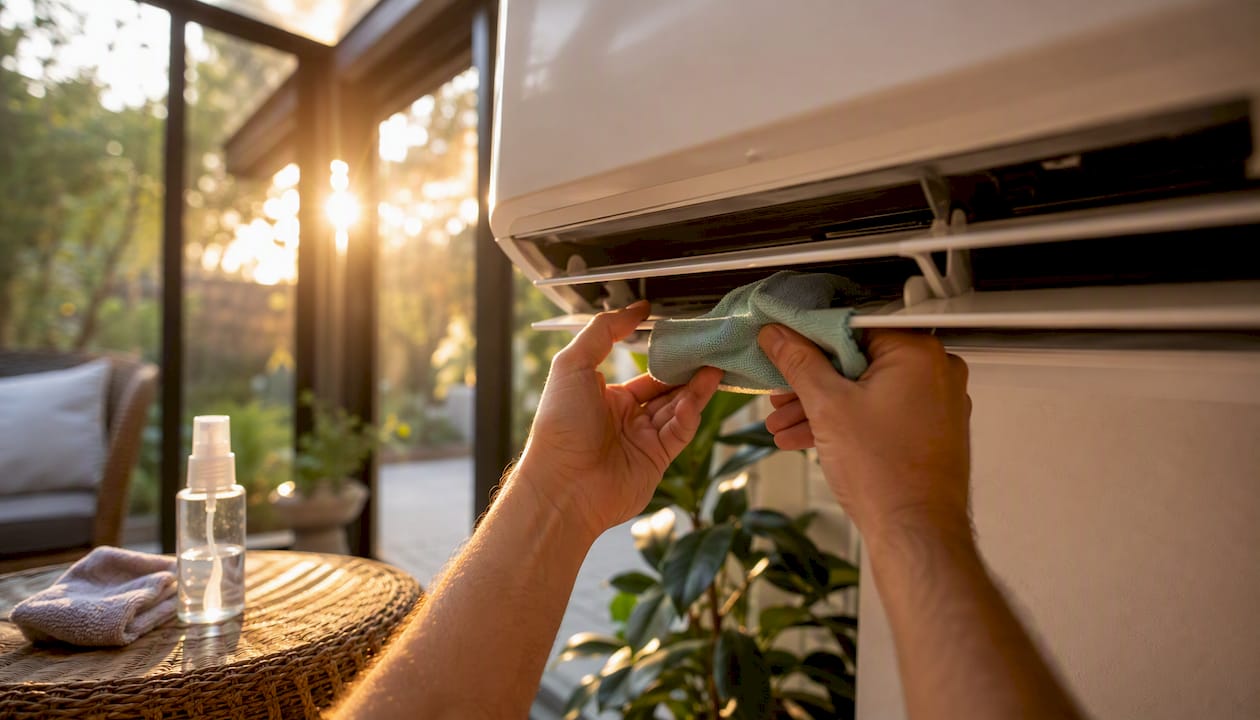
With the filters out and the unit isolated, the casing and louvres are straightforward. Dampen a microfibre cloth with lukewarm water and a drop of mild detergent, then wipe the front panel, the louvres (the adjustable airflow blades), and the sides of the casing. Work from top to bottom so any drips fall onto already-cleaned surfaces. Avoid soaking the cloth — you want it damp, not wet — and never spray water directly at the unit.
Abrasive cleaners and scouring pads will scratch the plastic and leave it looking worse than before. Stick to soft cloths.
Keep electronics dry. The thermostat sensor, wiring terminals, and circuit board sit inside the casing. Even a small amount of water reaching these components can cause faults or corrosion. Wipe carefully around any visible wiring or sensor probes and never use a spray bottle aimed at the unit’s interior.
The drain tray sits beneath the evaporator coil and collects condensate water. If you can see it without removing sealed components, check it for standing water, slime, or debris. Wipe it out with a damp cloth and flush gently with a small amount of lukewarm water. Do not remove sealed plugs or internal fastenings — if the tray is not accessible without disassembly, leave it for a professional. A vinegar and water flush poured slowly into the tray can help clear mild blockages in the condensate line and reduce musty smells between services.
Safe DIY tasks for the outdoor condenser unit
The outdoor condenser does not need the same attention as the indoor unit, but a quick check every month — and after any storm — keeps it running efficiently. Bristol & Bath Air Conditioning’s cleaning guide is clear: do not wash the inside of the outdoor unit yourself.
Here is what you can safely do:
- Isolate the power at the outdoor isolator switch (usually a grey box on the wall near the unit) before getting close.
- Remove leaves, twigs and large debris from around the base and from the top grille by hand or with a soft brush.
- Clear vegetation. Cut back any plants, shrubs or grass to at least 30–60 cm from all sides of the unit. Restricted airflow around the condenser is one of the most common causes of reduced cooling performance.
- Brush loose dirt from the casing and fan guard using a soft brush. Work gently — the aluminium fins behind the grille bend easily and are expensive to straighten.
- Check for obvious blockages in the airflow path: garden furniture, wheelie bins, or stored items placed too close are frequent culprits.
What not to do: Never open the condenser casing. Never use a pressure washer on the fins — the high pressure collapses the aluminium fins and reduces heat exchange efficiency significantly. Do not attempt any work on the refrigerant lines, compressor, or electrical connections inside the unit.
If your manufacturer’s manual explicitly permits it, a low-pressure garden hose directed from the inside out through the fan grille can rinse surface dust from the fins. If you are unsure, skip it and book a service instead — a professional has the right tools to clean fins without damaging them.
Which cleaning solutions are safe for DIY aircon maintenance?
The default for filters and surfaces is simple: lukewarm water and a small amount of mild washing-up liquid. It removes dust, light grease, and surface grime without damaging plastic or mesh. For the drain tray and condensate line, a diluted white vinegar solution (roughly one part vinegar to three parts water) is a practical DIY option that tackles mould and mild blockages without harsh chemicals.
A bicarbonate of soda paste can shift stubborn marks on the plastic casing, but rinse it off thoroughly — residue left in crevices can attract moisture.
For anything beyond surface cleaning, purpose-made HVAC products are available in UK hardware shops and online. Foaming coil cleaner sprays are designed to cling to coil surfaces, dissolve grease, and rinse away without scrubbing. Zap-UK’s cleaning methods guide notes that these are appropriate for accessible coil surfaces, but coil cleaning as a whole is generally best left to a professional who can assess the condition properly.
Avoid bleach, caustic cleaners, and undiluted chemicals on any part of the unit. Bleach degrades plastic components over time, corrodes metal fins, and the fumes can linger in the airflow. Household pressure washers — even on a low setting — collapse aluminium fins and are not suitable for any part of an air conditioning unit.
Pro Tip: White vinegar is useful for condensate line maintenance, but do not pour it directly onto electrical components or the circuit board. Apply it only to the drain tray and line termination point, and flush with clean water afterward.
How often should you clean your aircon, and how long does each task take?
The honest answer is that most homeowners clean their filters far less often than they should. A unit running through a warm UK summer needs filter attention every two weeks. Outside peak season, a monthly check is usually enough — though households with pets, smokers, or allergy sufferers should stick to the shorter interval year-round.
Guildford Plumbers’ air conditioning cleaning guide recommends checking the drain tray at the start and end of each cooling season, and wiping the casing monthly. The outdoor unit needs a debris check monthly and after any significant storm.
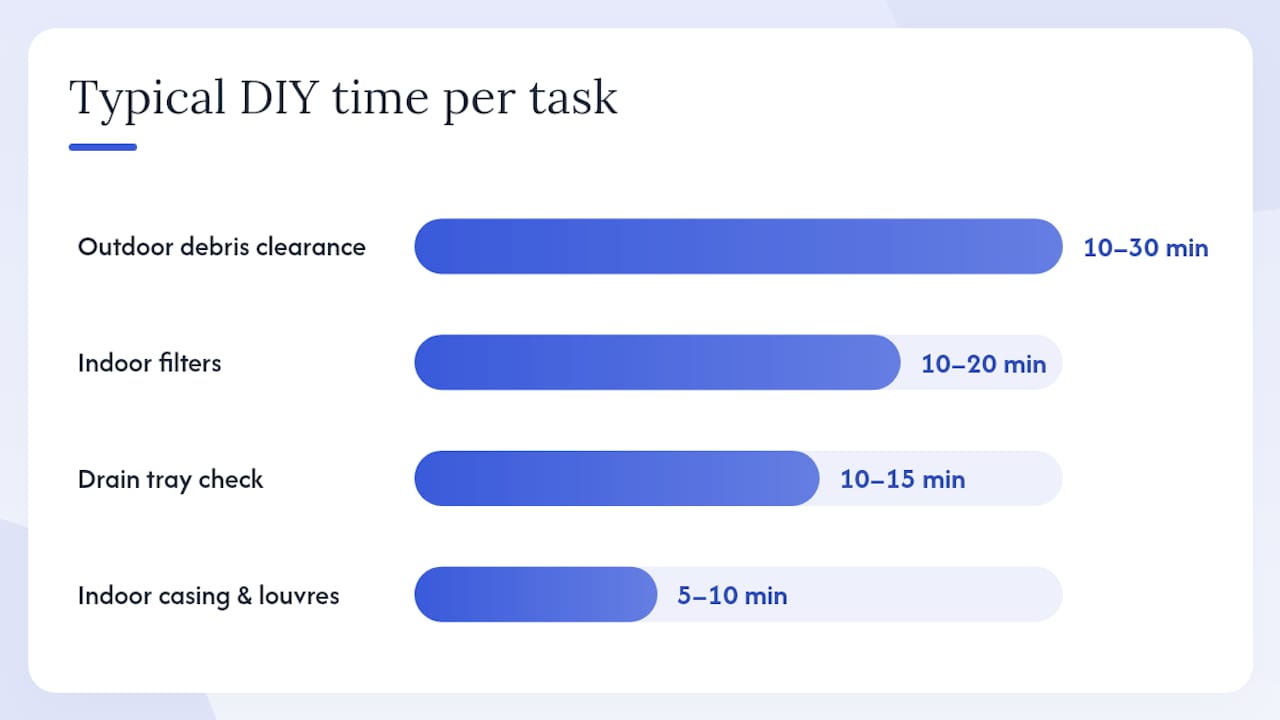
| Component | Recommended frequency | Typical DIY time |
|---|---|---|
| Indoor filters | Every 2 weeks (heavy use); 4–6 weeks (light use) | 10–20 minutes |
| Indoor casing and louvres | Monthly | 5–10 minutes |
| Drain tray check and flush | Start/end of season, or if smells appear | 10–15 minutes |
| Outdoor debris clearance | Monthly and after storms | 10–30 minutes |
| Full professional service | Annually (or per manufacturer guidance) | Booked with engineer |
The step-by-step aircon maintenance guide for energy savings on Akita’s site expands on how regular upkeep translates directly into lower running costs — worth reading alongside this schedule.
Common DIY mistakes to avoid and simple troubleshooting steps
Even well-intentioned cleaning can cause problems if a few basics are missed.
Mistakes that cause the most issues:
- Not isolating the power before starting — the most dangerous error
- Refitting filters before they are completely dry
- Using hot water on mesh filters, which warps the frame
- Spraying water or cleaning products directly at the unit
- Using a pressure washer on the outdoor fins
- Forcing panels open rather than following the manual’s clip sequence
- Ignoring persistent musty smells or unusual noises after cleaning
Simple troubleshooting steps to try first:
If the unit is not cooling well after a clean, confirm the filters are seated correctly and the front panel is fully closed. A partially open panel breaks the airflow seal and reduces performance noticeably. Check that the outdoor unit is clear and the isolator is fully on.
For a musty smell that persists after filter cleaning, try a diluted vinegar flush down the condensate drain tray. Leave it for 10 minutes, then flush with clean water. A wet vacuum applied to the outdoor drain termination can also shift a partial blockage.
For further troubleshooting steps you can safely try at home, Akita’s troubleshooting guide covers the most common fault patterns before you need to call anyone out.
When to stop and call a professional: ice forming on the coils, water dripping from the indoor unit, a persistent smell despite drain maintenance, reduced airflow even with clean filters, or any unusual noise from the compressor or fan. These are not DIY fixes.
When should you call a qualified UK engineer?
Some faults look like cleaning problems but are not. If any of the following appear, stop DIY work and book a qualified engineer:
- Ice forming on the indoor unit or refrigerant pipes
- Water leaking from the indoor unit onto walls or floors
- A persistent musty or burning smell after cleaning
- Reduced cooling or heating performance despite clean filters
- Loud or unusual noises from the compressor or fan
- Visible mould inside the casing or on the coils
- The unit tripping the circuit breaker repeatedly
Refrigerant handling is a legally controlled activity in the UK and must only be carried out by F-Gas certified engineers. Deep coil cleaning, fan motor repairs, pressure testing, and any work on electrical connections all fall into the same category — specialist tasks that require the right training, tools, and certification.
What a professional UK service visit typically covers: inspection and cleaning of evaporator and condenser coils, condensate drain clearing, refrigerant level and pressure checks, electrical safety checks, and a written service record. Always ask for a service checklist or report at the end of the visit — it is useful for warranty purposes and for tracking the unit’s condition over time.
A professional AC service guide for UK homes from Akita explains exactly what each stage of a service visit involves, which is helpful if you are booking one for the first time and want to know what to expect.
Pro Tip: When booking a service, have your unit’s make, model, and approximate installation date ready. It helps the engineer bring the right parts and speeds up the visit considerably.
Akita’s practical perspective on DIY cleaning and what we see on service visits
Filters are genuinely the easiest win in home aircon maintenance, and they make a real difference. A unit with clean filters runs more efficiently, cools faster, and is less likely to develop the secondary problems that lead to expensive repairs. The homeowners who get the most from their systems are the ones who treat filter cleaning as a regular habit rather than an annual chore.
That said, the most common issue Akita’s engineers encounter on residential visits is not dirty filters — it is drain and coil problems that have been masked by surface cleaning. A unit that smells musty even after a thorough filter wash almost always has mould in the coil or a partially blocked condensate line. Both need professional attention. Similarly, a unit that has lost cooling performance despite clean filters usually has a refrigerant issue or coil fouling that no amount of DIY cleaning will resolve.
On warranty and costs: most manufacturers require evidence of regular servicing to honour warranty claims. A DIY filter clean does not substitute for an annual professional service in most warranty terms. If your unit is still under warranty, check the documentation before skipping a scheduled service — the saving is rarely worth the risk.
How Akita can help with a professional aircon service
Cleaning filters and wiping the casing will take you a long way, but there comes a point where a professional visit is the right call — whether that is an annual deep clean, a fault diagnosis, or a full coil service.
Akita’s residential service visits cover the tasks that sit beyond safe DIY: evaporator and condenser coil cleaning, condensate drain clearing, refrigerant checks, and a full electrical safety inspection. Every visit includes a written service record, so you have documentation for warranty purposes.
To book or get a quote, visit Akita’s residential air conditioning service page. Have your unit’s make, model, and a brief description of any symptoms ready — it makes the booking process quicker and helps the engineer prepare for the visit.
Sources
The sources below are worth bookmarking for model-specific steps and deeper technical detail. Always consult your unit’s own manual first — manufacturer guidance takes precedence over any general how-to, particularly for filter removal sequences and approved cleaning products.
- AC Maintenance Guide: Filters, Costs & Servicing | Daikin
- Home Air Conditioner Cleaning Guide for Guildford Homeowners
- Air conditioning filters: types and maintenance | Heatable
- How To Clean Your Air Conditioning | Bristol & Bath Air Conditioning
- Aircon cleaning methods that work | Zap-Uk
Treat refrigerant and electrical faults as specialist work in every case. If your unit’s manual is missing, most manufacturers publish current versions on their UK websites — search by model number.
Recommended
Speak to Akita Air Conditioning
Find out more about our air conditioning servicing, or see how we work with homes and businesses in Suffolk and the surrounding area.
Ready to talk about your property? Book a free survey and one of our engineers will assess your space and recommend the right system for it.